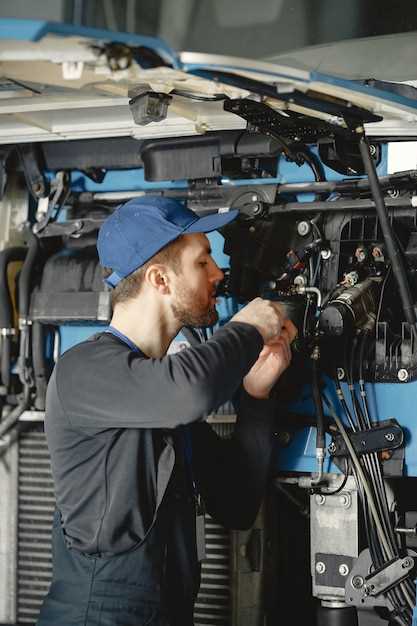
Replace the filtration component every 15,000 to 30,000 miles to ensure optimal performance and engine longevity. This key practice enhances air quality entering the engine and maximizes fuel efficiency.
Examine the filtration unit regularly for dirt accumulation and damage. A clean filtration mechanism enhances combustion and reduces harmful emissions, contributing to a healthier environment. Use a flashlight to inspect for any visible tears or blockages.
Accessing the compartment typically requires opening the hood and locating the filtration housing. Follow the specific procedure outlined in the vehicle’s manual for safe removal. Ensure a proper seal upon reinstallation to prevent unfiltered particles from entering the engine.
Consider high-performance options available that provide better filtration rates and longer intervals between service. Advancements in filtration technology can dramatically improve the efficiency of your vehicle.
Implement this maintenance routine as part of a broader schedule, including oil changes and tire rotations. Keeping all components in harmony extends the lifespan of your vehicle and enhances its reliability on the road.
Checking for Signs of Air Filter Wear and Contamination

Regularly observing the condition of the component is vital. Look for discoloration, which often indicates dirt accumulation. A filter that appears brown or dark suggests excessive contamination.
Examine for holes or tears; any damage affects performance. Inspect the seams closely for signs of wear, which may lead to air leaks.
Dust or debris inside the housing points to a compromised barrier. If the filter feels excessively oily, it may be time for replacement. Excess oil can restrict airflow and diminish engine efficiency.
Monitor fuel efficiency; a sudden drop may hint at an inadequate component. Pay attention to engine performance; unusual sounds or stalling might stem from restricted airflow.
Regular checks will ensure optimal function, prolonging engine life and maintaining performance standards.
Step-by-Step Guide to Properly Replace Your Truck’s Air Filter
Gather necessary tools: a new replacement element, a screwdriver, and gloves to ensure cleanliness. Before starting, park the vehicle on a level surface and turn off the ignition.
Locate the compartment housing containing the filtration unit, usually situated near the engine. Unfasten any clips or screws securing the cover. Carefully remove the lid, taking care not to damage adjacent components.
Take out the old filtration element and inspect it for any signs of dirt or damage. Clean the compartment lightly with a cloth to remove debris before inserting the new element.
Position the replacement correctly in the compartment, ensuring it fits snugly. Reattach the cover by securing all clips or screws, verifying that it is fitted evenly without gaps.
Start the vehicle and listen for smooth operation, indicating proper installation. Check for any unusual noises or warning lights on the dashboard. Dispose of the old element responsibly, following local regulations.
Maintaining Air Filter Efficiency: Tips and Best Practices

Regularly check the condition of the element every 10,000 miles or as recommended in the manufacturer’s guide. Replace with high-quality models to ensure optimal performance.
Keep surroundings clean during installation. Dust or debris can compromise filtration capabilities.
Avoid oil-based cleaning products, which can clog the mesh. Instead, use dry cleaning methods or specialized non-oil solutions.
Inspect gaskets and seals for wear. Damaged components can allow unfiltered air into the system, degrading engine performance.
Monitor fuel economy. A decline may indicate a need for replacement or maintenance of the component, enhancing overall efficiency.
Consider driving conditions. Dusty or off-road environments may require more frequent changes to maintain reliability.
Store extra elements in a cool, dry place to prevent degradation. This ensures availability when needed.


